In
hydroponics, DWC stands for Deep Water Culture, it's a variation of a
standard water culture system. A DWC system works exactly the same as a
standard water culture system, the only difference is that the water is
deeper than a standard water culture system. Though many people refer
to any water culture system as a DWC system, water culture systems
aren't really considered "deep water" unless the water is at least
10-12 inched deep.
Water culture systems are one of the
simplest and least expensive types of hydroponic systems to build.
Often times you can build a water culture system out of materials you
have laying around your house, as we did for this one. This
hydroponic system design is really good for growing small to medium
size plants nicely. With very few parts it's not only inexpensive, but
very easy and fast to build as well.
Five Gallon Bucket DWC System Parts List
- Five gallon bucket with lid (you can make your own lid if you need to)
- Aquarium air pump
- Air line for the pump
- Aquarium air stone (or stones)
- Basket for the plant (you can use a standard small plastic plant pot as well)
- Growing media (to fill the basket or plant pot with)
- Black spray paint (to light proof the bucket)
- White spray paint (to reflect light/heat)
- Pluming Goop or silicone (optional)
If
your going to be growing small plants you can use more than one basket
for multiple plants. That way you can space them evenly apart. We will
be growing a medium sized
plant,
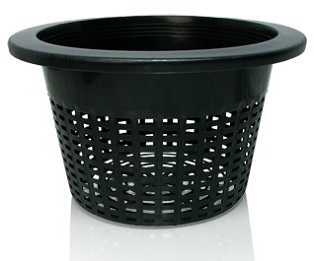
so we will be using one larger basket. You can buy plant baskets in
many shapes and sizes form just about any hydroponics supply store.
They look like a spaghetti strainer shaped as a plant pot. But instead
of buying one, we used what we had laying around.
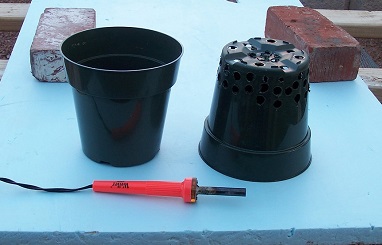
We just used
a regular sturdy plastic plant pot we washed and cleaned out. But first
we added more holes to it with my favorite tool. A hand held soldering
iron. If you don't have one, you can get them at any radio shack or
even wal-mart for under $10. You can use a drill bit to drill the holes
if you
need
to, but burning the holes through gives you a cleaner hole, and its
much faster too. If plan to build more than one hydroponic system, a
soldering iron is a good tool to have around.
Once you have your
plant's pot ready, you'll need to cut a hole in the lid of the five
gallon bucket to set it in. It's best to cut a test hole in something
first, because if you make it to big, you'll need a new lid (or bigger
plant pot). Draw and cut out your test hole is a piece of
cardboard
(side of a box etc.) and test placing the pot in it. If it fits nicely
without falling through, use your test hole as the template to draw it
out on your lid.
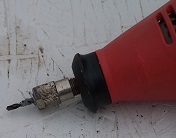
Now go ahead and cut out the hole for the
basket in the five gallon bucket lid. The easiest way to do that is
using a rotary tool with a drill bit and fallowing along the line
(another very useful tool for building hydroponic systems). You may be
able to find a rotary tool at the swap meet for about $10 like ours. If
you don't have a rotary tool you can also cut it out with a jigsaw with
a blade for plastic. Just drill a hole large enough to fit the blade
near the line you drew (inside the part your cutting out). Stick the
blade in the hole and cut along the line. If you have to, you can cut
out the hole with a soldering iron as well. It will take longer and
make a lot of smoke, but it will work if you need to.
If your 5
gallon bucket and lid is already light proof, you can skip this steep.
But if you place the bucket on your head and can see any light coming
through the plastic, it's not light
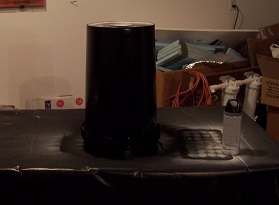
proof.
If it's not you can paint the outside of it black to block light. Make
sure you use a spray paint for plastic surfaces or it won't stick
long.
If you don't block the light from getting in the
bucket, you will be allowing algae and other microorganisms to grow.
The three things needed for algae to grow is light, food, and water.
The nutrients in the water provide the food, so you need to block the
light or your giving it all three.

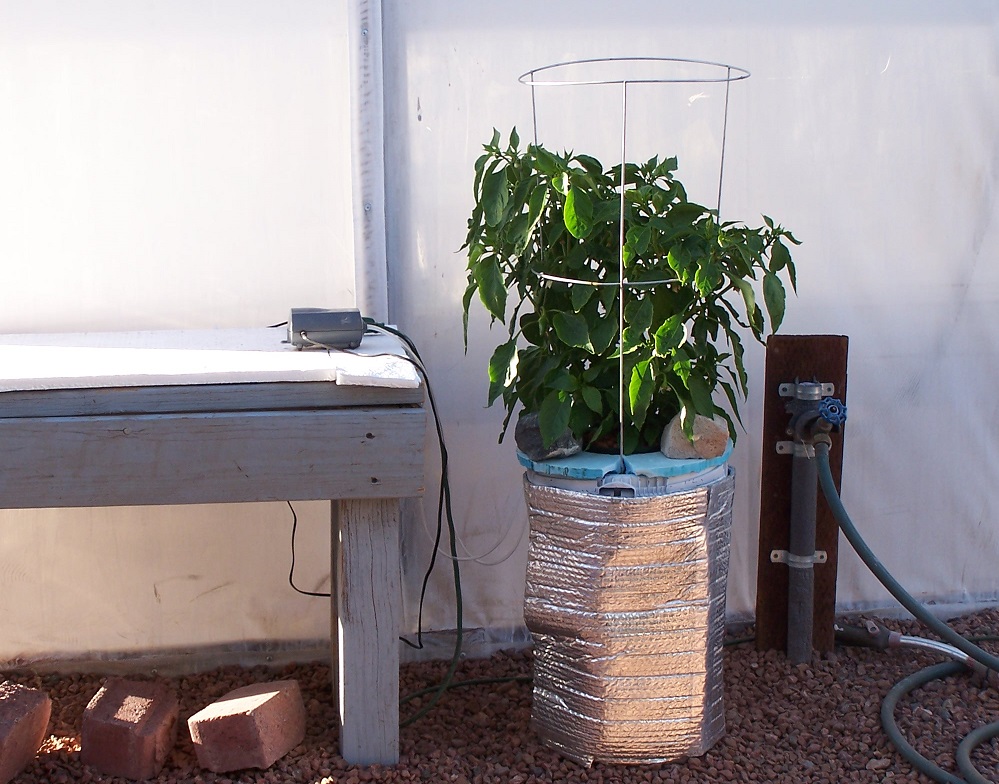
Black
surfaces absorb heat and it's important to keep the root zone of the
plant cool. So now by painting it again, but this time painting it
white, you will have a surface that reflects light/heat but still
blocks light from getting in. Because your painting the white over the
black paint, the white paint doesn't need to be for plastic surfaces.
But it should be a glossy finish so it doesn't get dirty easily.
Now to make it easier for you when you need to lift the lid off to check pH, check
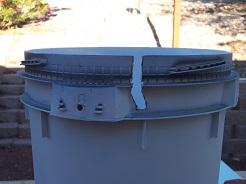
water
lever and change the nutrients etc.. Cut a small notch out of the side
of the bucket, near the top to run the air line through. Just far
enough down so it runs

1/2
to 1 inch below the lid so it wont pinch the air line. That way you can
lift the lid easily without dealing with moving or disconnecting the
air lines. I just used the soldering iron to burn the notch down the
side because it's easy and gives fairly clean and smooth edges. But you
could use a hack saw also.
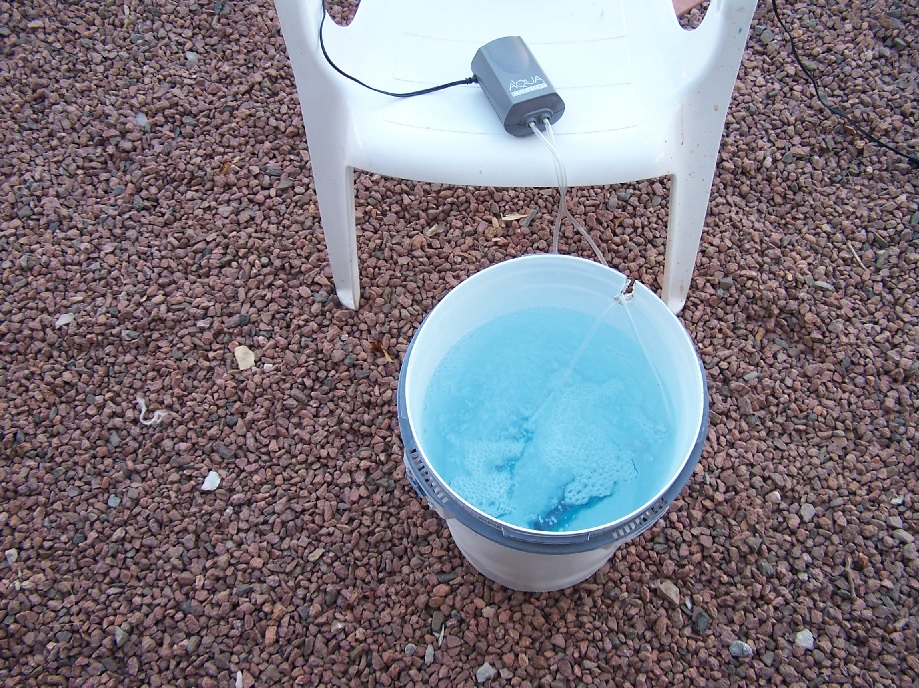
Some air stones will want to float.
You can buy some weighted air stones at any hydroponics store, but they
usually cost much more. We just weight down the standard aquarium air
stones from wal-mart. To do so is easy, it just takes 24 hours to dry.
We just
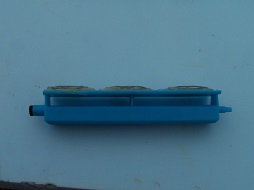
super
glue some metal washers (to hold them in place) to the bottom to weight
the air stones down. But because you don't want the metal to rust or
corrode in your nutrient solution, we just spread a layer of pluming
goop over the metal washers. That way the metal never comes in contact
with the water. The pluming goop is 100% water proof and wont come off.
You can use 100% silicone as well to do the same thing. We just like
using the pluming goop because it's more durable in the long run and we
always seem to have some on hand.

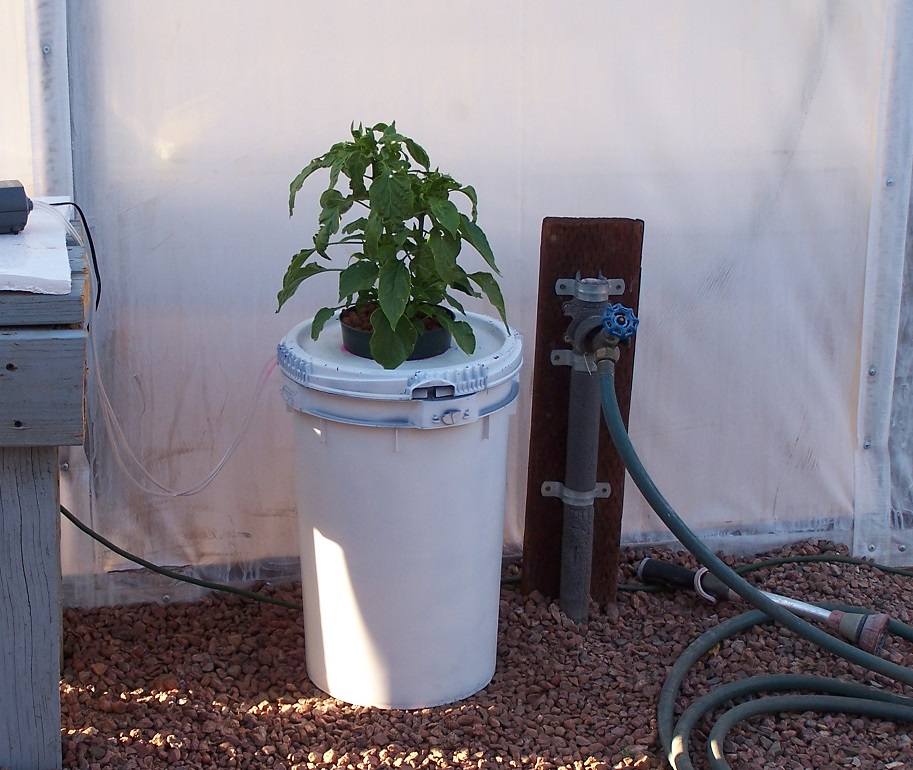
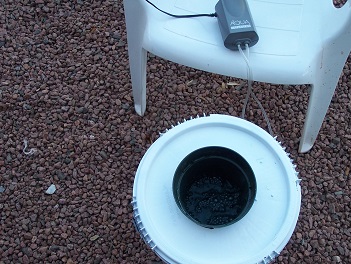
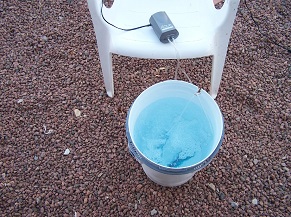
Now
you have everything ready to put the DWC hydroponic system together.
Connect the air lines to the air stone/s, and place them in the bottom
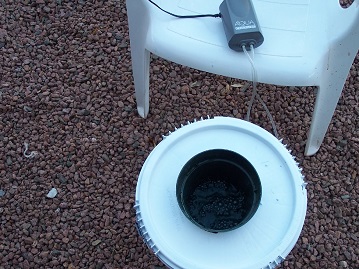
of the bucket. Plug in the air pump. Place the lid on the bucket and
insert the plant basket/pot. Fill the bucket with good quality water
high enough so the bottom of the basket/pot is about 3/4 inch under
water. Take the lid back off and mark the water line inside with a
permanent marker. Make more than one around the inside so you can see
it easily. That way you will always be able to know where the water
line is in relation to the basket/pot, even when you have plants
growing in them.
With
the water line marked so you know how high it is in relation to the
plant's basket/pot, you can easily adjust the water height as needed
anytime. So how high should the water level be? There are a lot of
variables so there isn't a one size fits all answer for all
situations.
There is however a rule of thumb to go by. That is high enough so the
growing media and root ball inside is moist, but not soaking wet. It's
fine and even beneficial if the top inch of the growing media is
completely dry, but 2-3 inches down should be moist (not soaking wet).
Now
mix your nutrient solution in the water according to the manufactures
directions. Make sure your nutrients are for hydroponically grown
plants. Then check and adjust the pH if needed. Once you have your
nutrient solution mixed, your ready to fill the basket/pot with growing
media and your seedling or plant. If you started your own seedlings in
starter cubes, just fill the basket with growing media and set your
seedlings in it. If you are starting with potted plants in potting
soil, gently wash off all the soil from the roots. It's easiest to do
that by filling a pail with water and submerging the roots and soil in
it. Then gently brush off the soil from the roots by hand while their
under water.
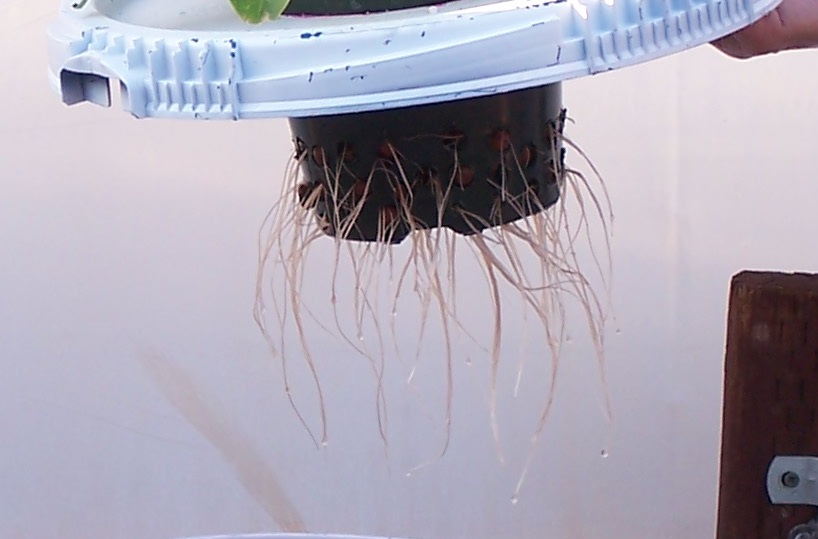
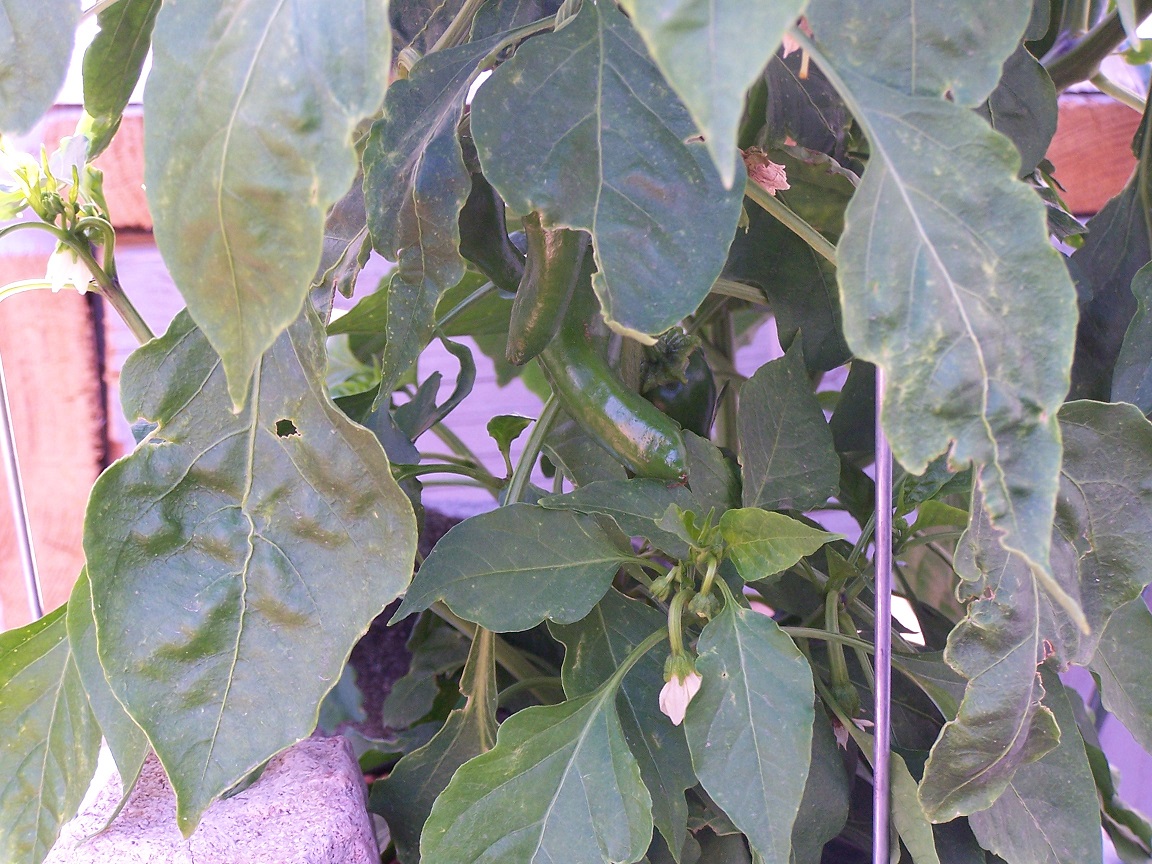
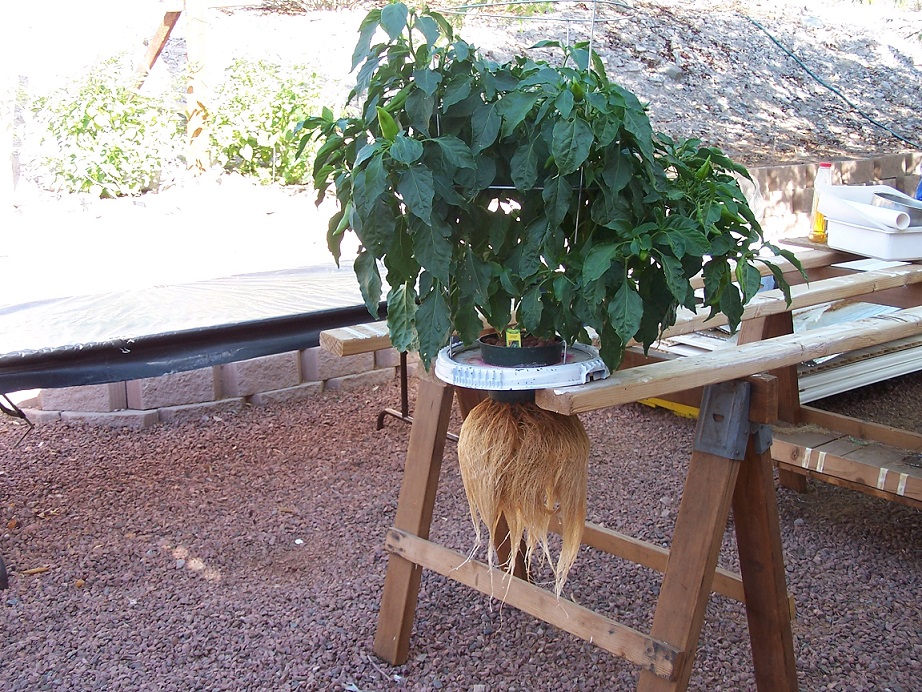
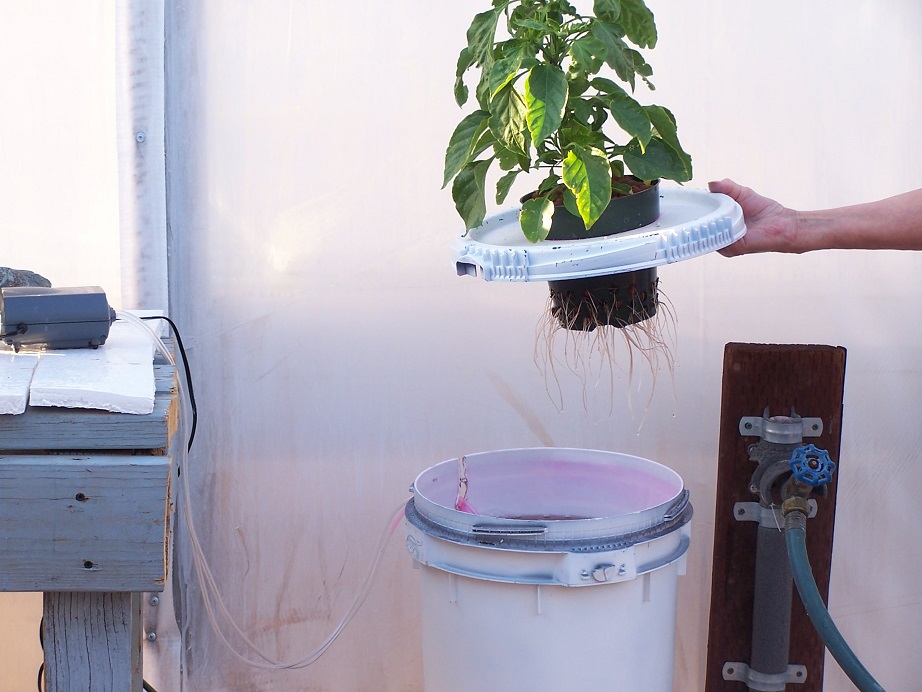
Once you have your plant in the DWC system, it
will probably take about a week for the roots to start coming out
of the plant
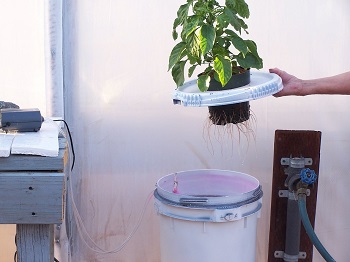
basket
or pot. So you'll want to make sure your water level is high enough
that the root ball gets plenty of moisture. Once the roots hang down
into the nutrient solution, the exact water level wont be so important.
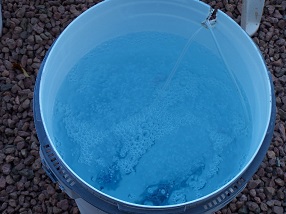
If
the lid of your 5 gallon bucket is hard to get off regularly. You can
cut a hole in it to make it easier to add water and check pH. You can
just stick a stick in it to check water level, or just fill it until
you see water starting to trickle out of the notch for the air line.
Happy Gardening!!!